


Mart 870
-
Posts
246 -
Joined
-
Last visited
Content Type
Profiles
Events
Forums
Everything posted by Mart 870
-
I must admit Kruiz you do keep going on about it, have you tried driving a road car lately?
-
Left foot braking has been banned for about 4 years now and i think they said they did it to slow the cars down! I dont really see the problem with having it myself although i couldn`t get on with using one. Since loads of drivers of all grades were using it, i cant see how they did it just to slow Moodie down.
-
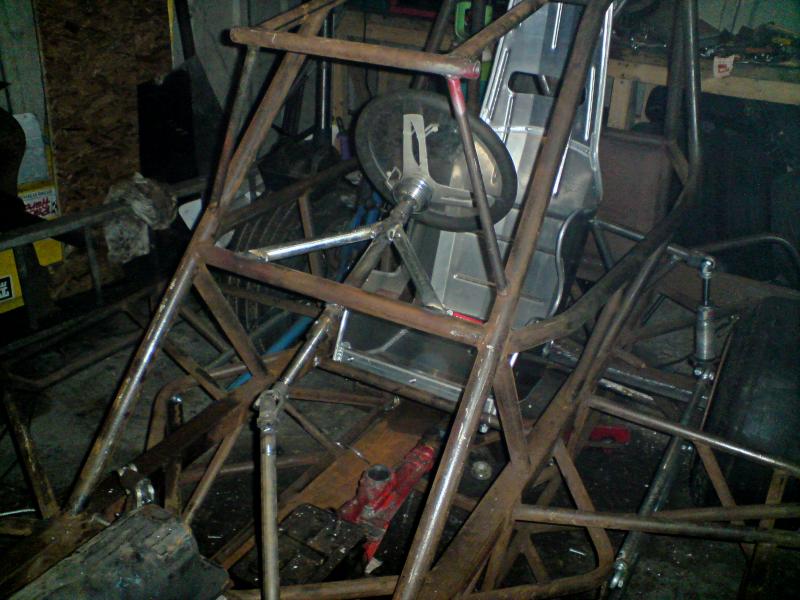
Next was back to the pedals.The brake and clutch pedals i made from scratch and used the measurements for pivot points from the pedals of the old car. The throttle pedal is straight out of the old car with a few holes drilled to save a touch of weight. I`d mounted the brake pedals, bias bar and master cylinders previously so this time it was the turn of the clutch pedal. There was already a mount for the clutch pedal but it was too far over to the left as the car was designed to have an extra brake pedal sat next to it for left foot braking, since thats now banned i cut the mount off and moved to over slightly to where the new pedal had a bit more room. I fabricated a bracket for the clutch cable, measured the distance between pedal and bracket on the old car and welded it into place. I cant see if it works yet as the dumy engine doesnt have a flywheel in it let along a clutch! Last pedal was the fun pedal. Once again i cut the old mount off and made a new one, then sat in the car for ages to make sure my short legs could reach fulll throttle! Once i was happy and finished making brum brum noises i welded the mount into place and cut a small section of angle iron to make a bracket for the throttle cable to run in. The angle iron i used was a little on the hefty side so a session on the pillar drill gave it more holes than a swish cheese, i could then weld it to the chassis. The throttle cable was connected to the carb and tried and it worked! a small spring was found in a box of bits to use as a return spring on the throttle and fitted giving a nice positive feel to the pedal. The prop was fitted from the old car too today and a harness ring was fitted to the front seat support for the 5th belt. Finally today before i was called in for my dinner i cut off the old rack mounts and make a couple of new brackets and tacked them into place on the chassis.
-
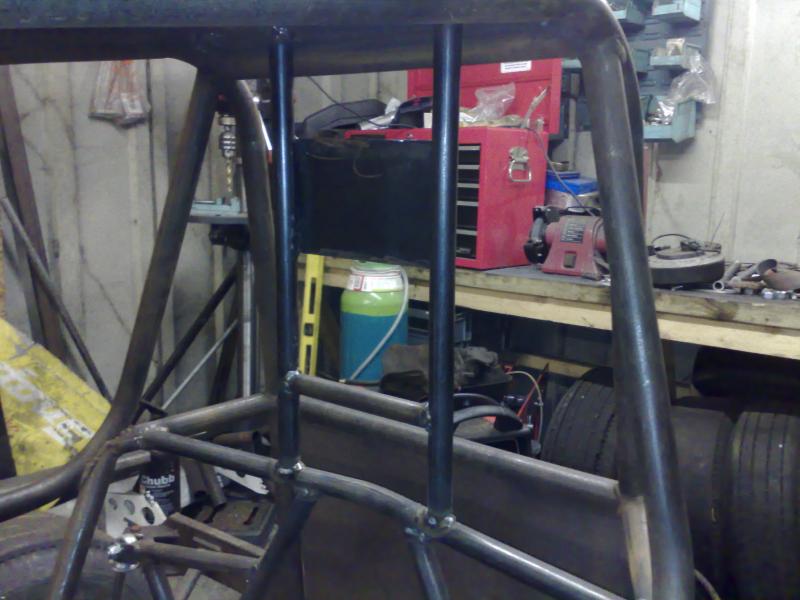
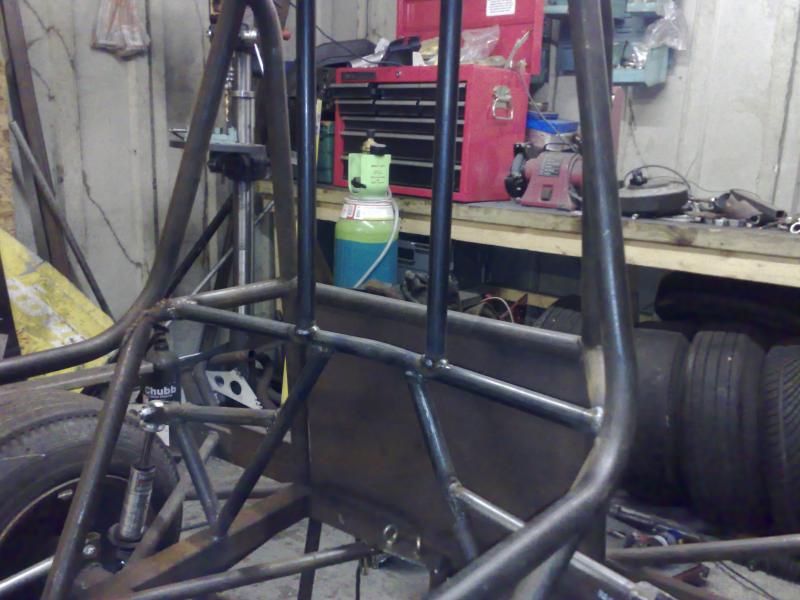
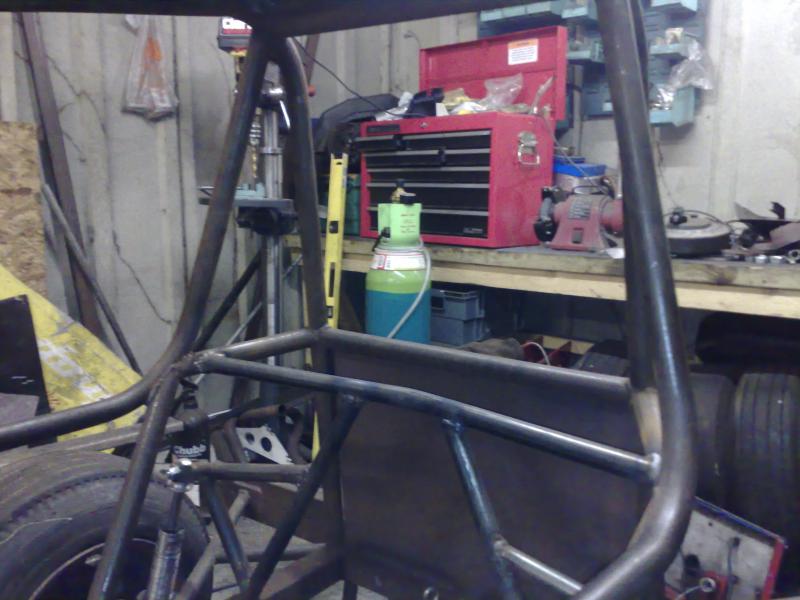
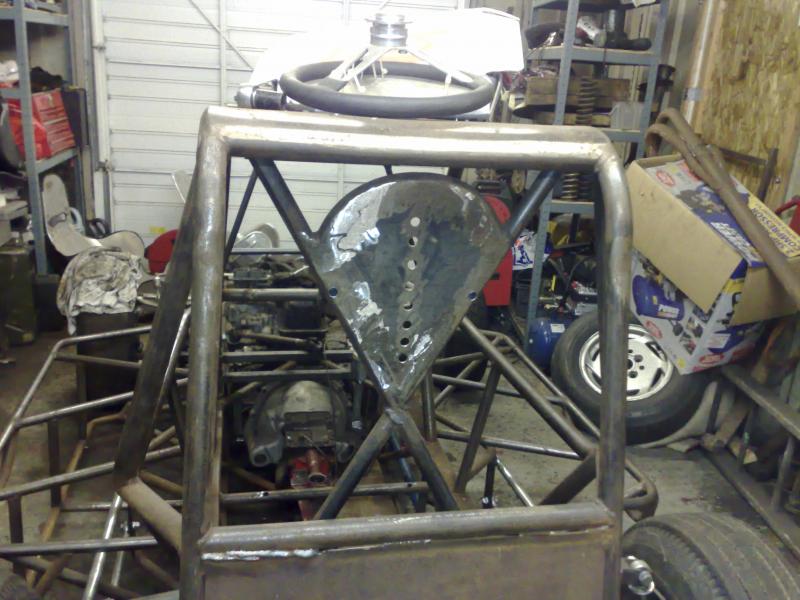
And finally the head rest plate and the all important crossbar to support the belts, job done!
-
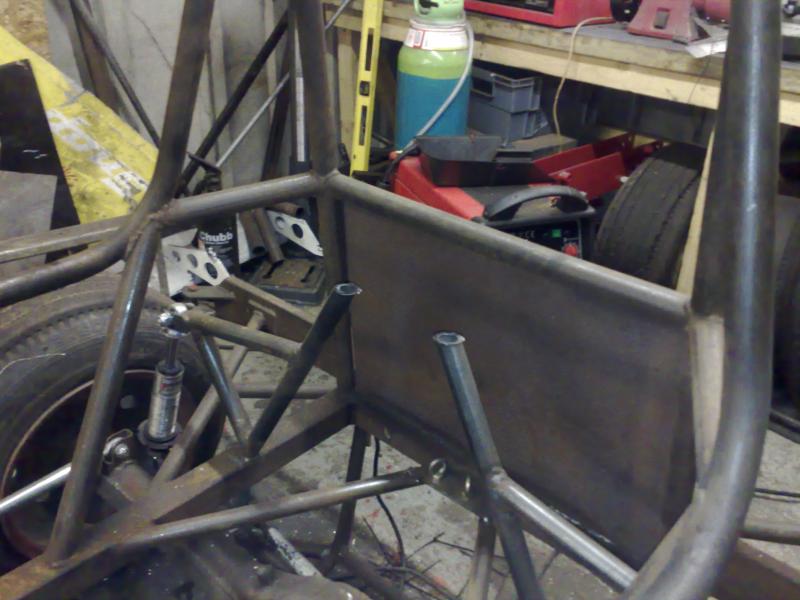
Then came the uprights.
-
Next up was to bend a bar to fit over the top of the old supports and attach either end at the roll cage.
-
After thinking long and hard about how i was going to make a bar to go across to support the belts and keep it looking neat idecided to get the big grinder out!
-
A busy week in the garage for me, i`ve been in there most nights after work plus a couple of hours on Saturday and Sunday. First off - Dad pointed out to me last time in the garage that the seat support had nowhere for the belts to loop over before they go through the seat! The rules state that the seat belts must be supported by a bar as they go through the seat so that they dont pull down on the seat and try and pull it off its mounts. Here`s the original suppport....
-
They do work on shale, when Bert bought out his retro looking car it didnt have a wing on but he soon stuck one on it. I like the look of cars without wings but it does make you very easy to pick out in a race when someone wants revenge! The car`s looking great Si, good luck this season.
-
Nothing to update this week due to crap weather and DIY!
-
We`ve a few inches! here in Leicestershire too, i got half way to work but then managed to slide the old MR2 down a hill backwards so i called it a day and went home!
-
Lol, i didn`t enter that but i did one league meeting last year (which i must have been yellow) so yellow i am!
-
Sound good to me, cheers Btw what roof colour i`m i?
-
Can i have a booking too please, Mart435
-
Do you know if there is any skins left to choose from, i fancy a go tonight, i dont really mind who`s car you stick me in.
-
Lol cheers Budge i`ill always need a welder!
-
Once i`d got the seat where i wanted it i could get on with the controls and first up was the steering column and wheel. I had to buy a column kit off of Randall as i`ve always had problems with the ones on my other cars and wanted to get it right. After that i made a start on the pedals which is where i`m at now. Thanks for looking.
-
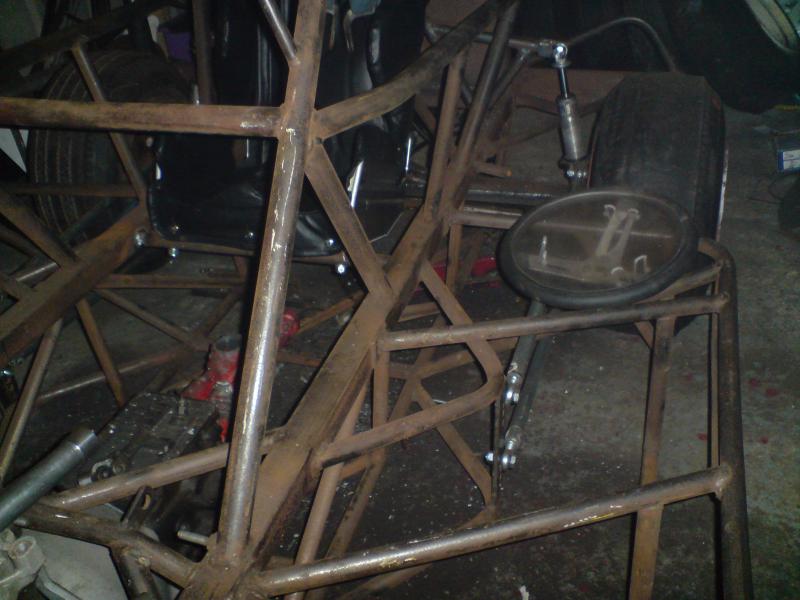
I`ve took pics of pretty much everything ive done one the car but i cant find where the pics are! These include - fabricating the brackets for the rear axle, it uses the original higgy trailing arm mounts but with a panard rod instead of a watts link and revised shock location. Making a strong enough mount on the chassis for a panard rod, easier to adjust roll centres and much easier to replace when i bend it! Rear seat support, head plate and upright shocker mounts all in one structure. This pic has most of the stuff on here but isnt very clear.
-
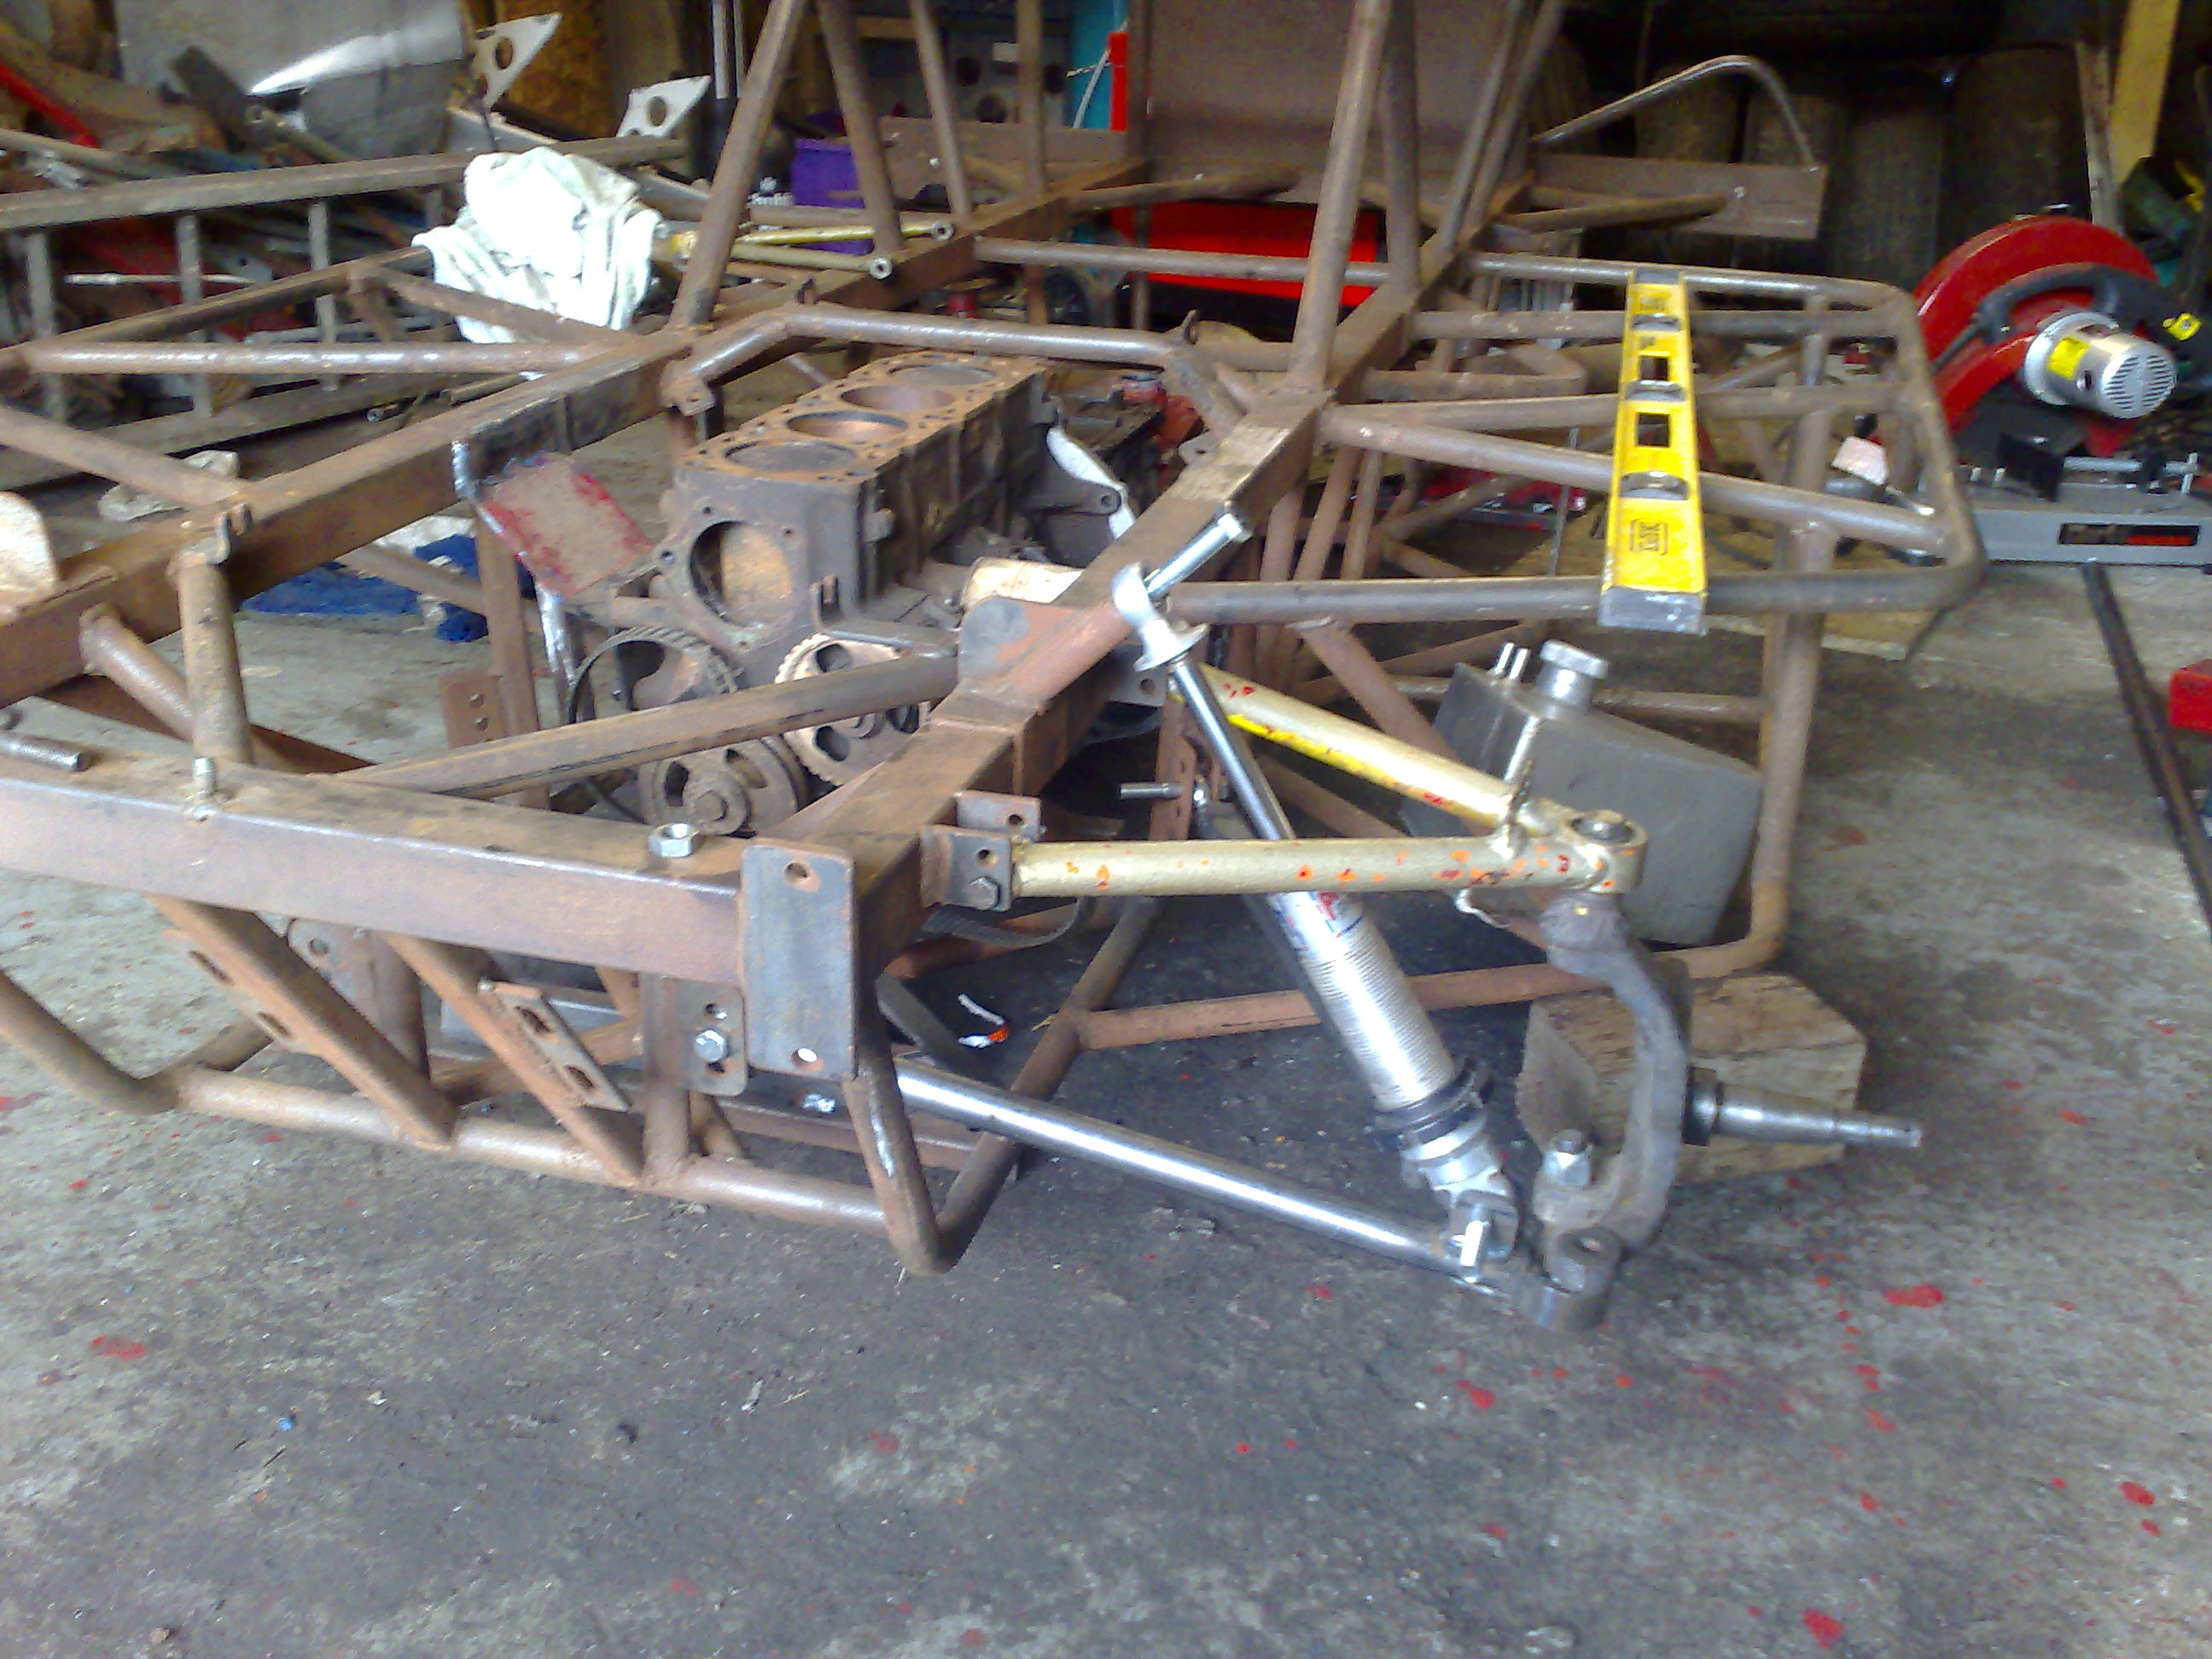
I managed to find a complete set of front suspension off a higgy on ebay cheaply but when i tried to fit it although the top wishbones fitted the bottom arms were way too short so i had to fabricate my own using the shorter ones as a pattern and the correct length for the new ones. I was given a jig to make my own wishbones but i found it hard work to get them right so i cut the mounts off the chassis and used randall wishbones (they are the same length but use much narrower mounts) which are cheap and easily available. I also bought some randall cortina upright adaptors while i was at it, cortina uprights might not be the most fashionable now in F2 but i have loads of them so its the cheaper option for me!

-
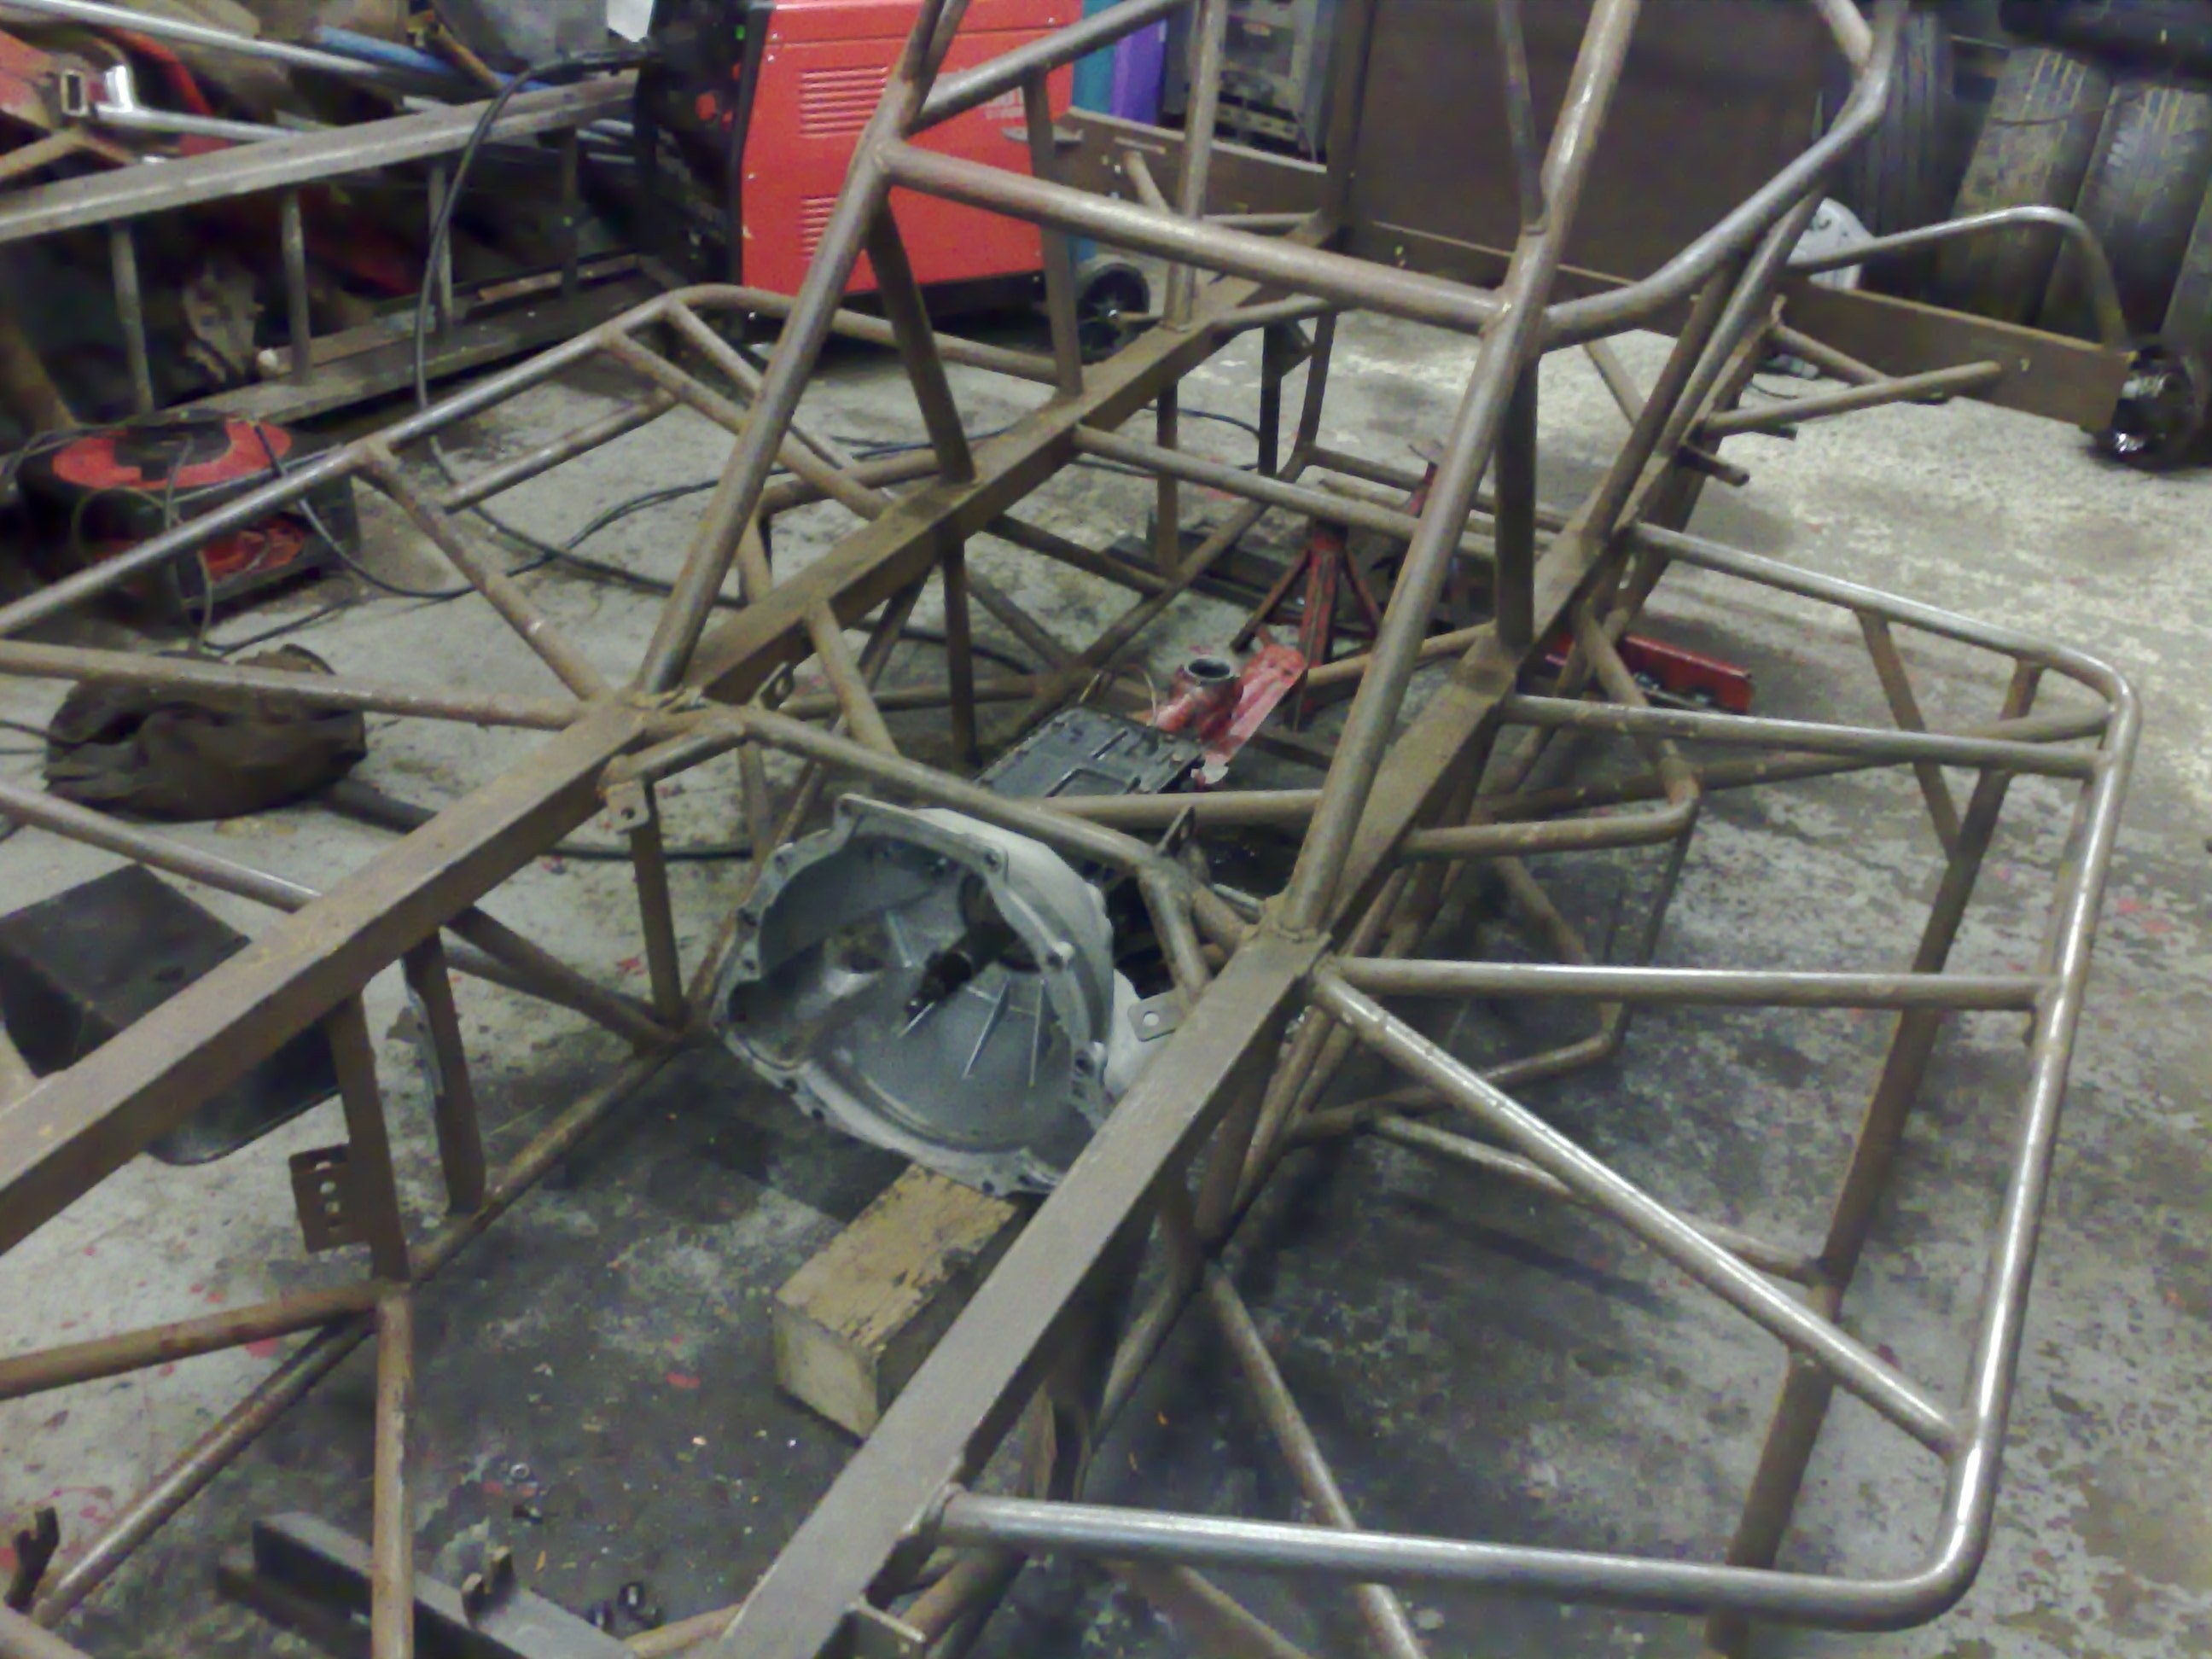
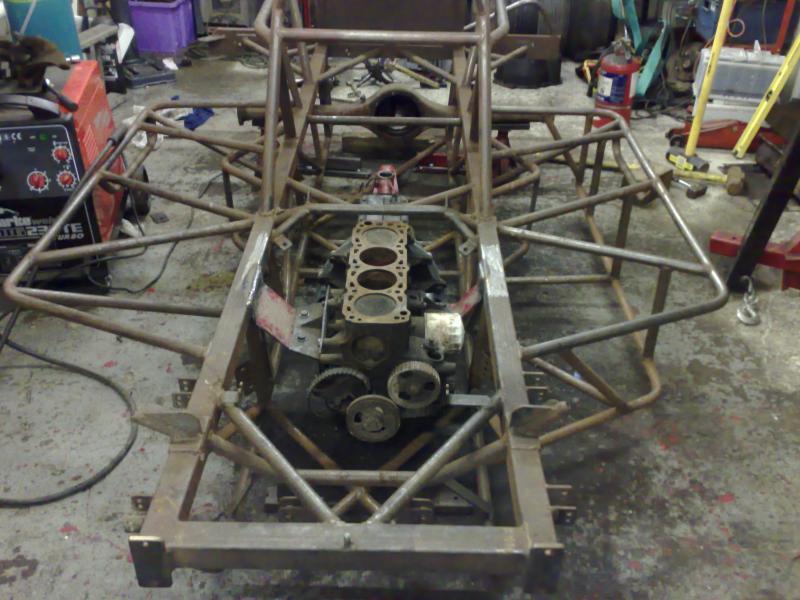
Next up was to drop an old botton end into the chassis and bolt it to the bellhousing so that i could fit and weld in solid engine mounts, the axle in the car is there just to give me an idea of how long the prop needs to be.
-
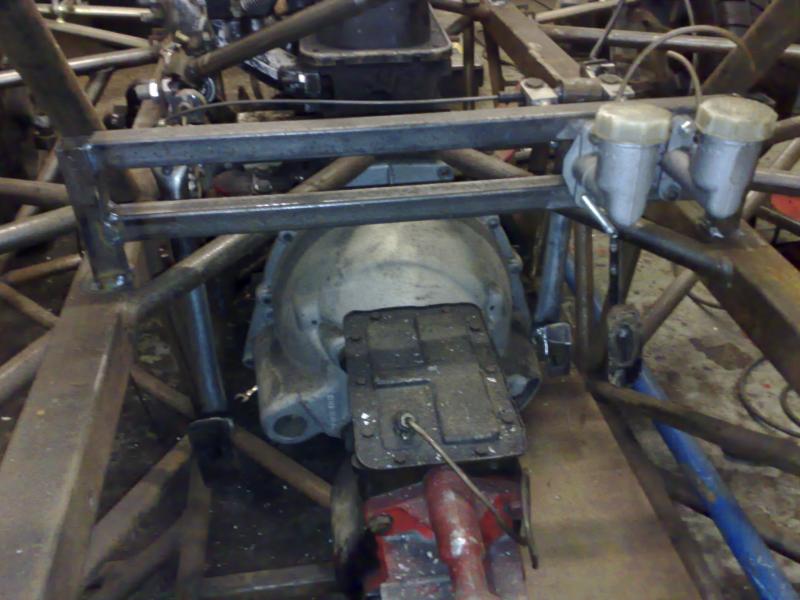
The first job was to make mountings and fit the gearbox/bellhousing, this was done first as there was already a gearbox mount lug on the chassis and by using this lug it determined where the engine would sit in the chassis as i had cut the engine mounts out to use the solid ones out of my old car.

-
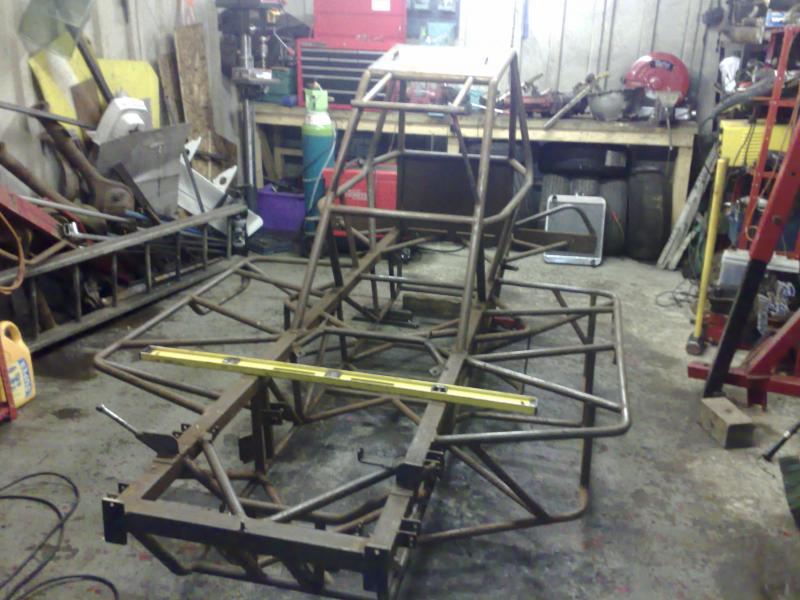
Here`s when i first got the car, raised to its correct ride height ready for the suspension to be made for it.
-
Only managed to get in the garage for a couple of hours on Saturday this week but i`ve made up a clutch pedal and mounted it in the car, while i was doing this Dad removed the steering rack from the car i had shortened earlier and cured a problem with it being stiff and notchy. while he had the rack out we had a rethink on how i have mounted the steering rack so i`m going to make some new mounts for it. Not really much to talk about this week and pics but i have got a few pics from the progress i`ve made.
-
Cheers lads, i`ll carry on with the updates and Kendo i would never try to fire a fellow white top in without good reason lol
-
Nah sorry, it`ll be strictly local tracks (northampton, Brum, buxton and possibly the odd Bristol if i`m feeling flush!) For what it costs to get the car upto Scotland i can do 4-5 local meetings. I`ve had a few views on this thread but not many replies, i was thinking of doing regular updates - what does everyone think?